Who is this for?
This guide is for web developers on Windows who prefer the command line and want to avoid virtual machines. It will provide you a truly native development experience for WordPress on Windows with more-familiar *nix commands. This guide assumes you want Ubuntu as your disto. There are other supported distros to choose from, but you may require other steps or commands not covered here.
For a more turnkey, visual approach to things, I suggest Local or Wamp, in that order.
Table of contents
- Install Ubuntu
- Get a better terminal (optional)
- Setup a LAMP stack
- Install helpful WordPress tools
- Setup a vanilla WordPress site
- Extra goodness
1. Install Ubuntu
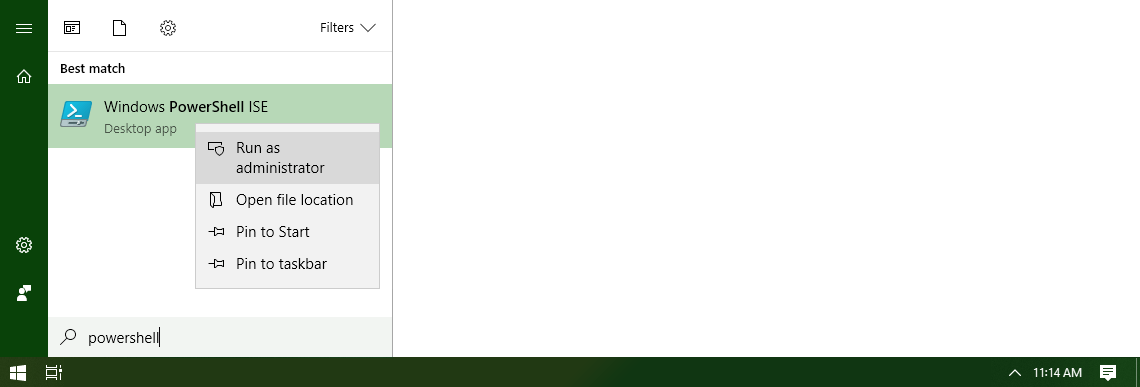
We first need to enable the WSL feature in Windows. Hit the Windows key, type powershell. Right-click on the Windows PowerShell ISE program, then click Run as administrator.
Run this command to enable WSL.
Enable-WindowsOptionalFeature -Online -FeatureName Microsoft-Windows-Subsystem-Linux

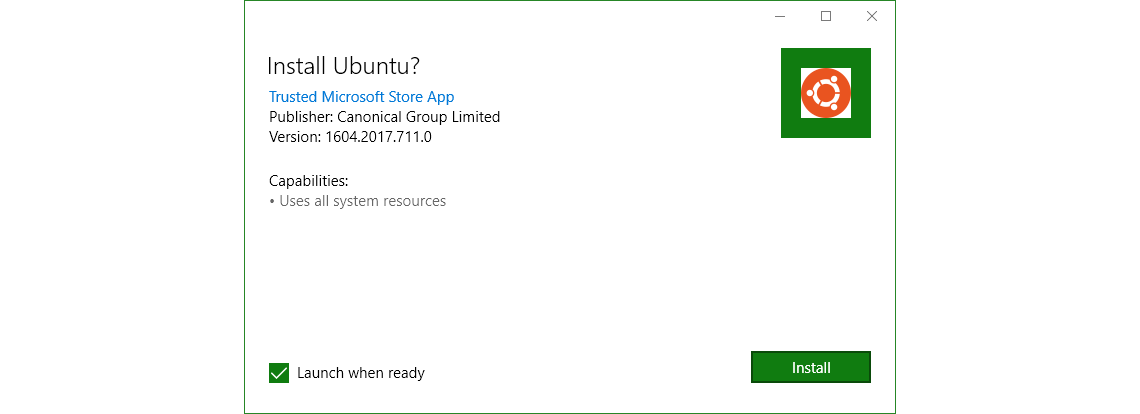
Download this official Ubuntu installer from Microsoft, which lets you install without a Microsoft account. Otherwise you could open the Microsoft Store and search for Ubuntu, as described in this Microsoft installation guide.

Run the Ubuntu installer.
When prompted, setup a UNIX username and password.
A warning, choose a username that is different than any of your Windows usernames; I've encountered weird permission issues when having the same username for both, plus it gets confusing on the command line if you see the same username everywhere.

This should drop you into a bash shell, inside a command prompt. Let's immediately get Ubuntu updating, then we can go get a better terminal while that runs.
First things first, update Ubuntu and outdated packages.
sudo apt update && sudo apt -y upgrade
Keep this window open until the process finishes.

2. Get a better terminal (optional)
This step is completely optional, but recommended for a better experience. Skip this step if you're content with command prompt, otherwise leave that Ubuntu update running and let's get a better terminal.
Download Hyper, install it, and run it.
Microsoft is finally building a useful Windows Terminal! You can download the preview from the Microsoft Store. I'm sure I will switch to this when it's more stable.
For more robust terminal configurations, cmder is an amazing option with a delightfully-opinionated configuration of ConEmu.
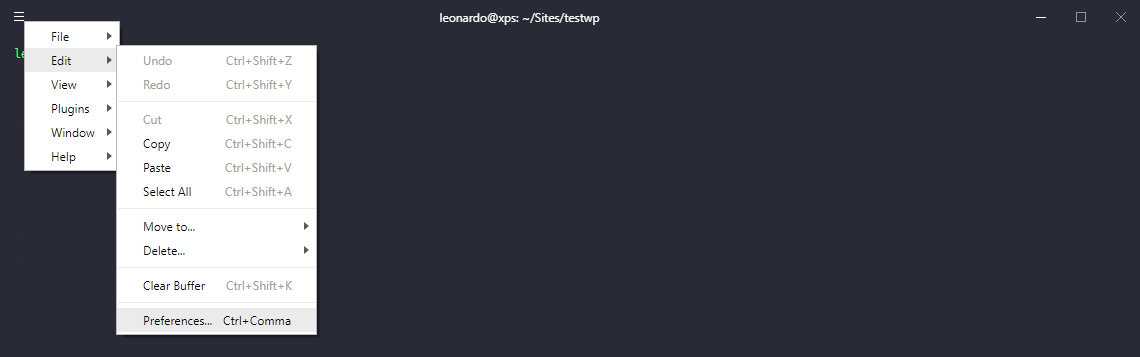
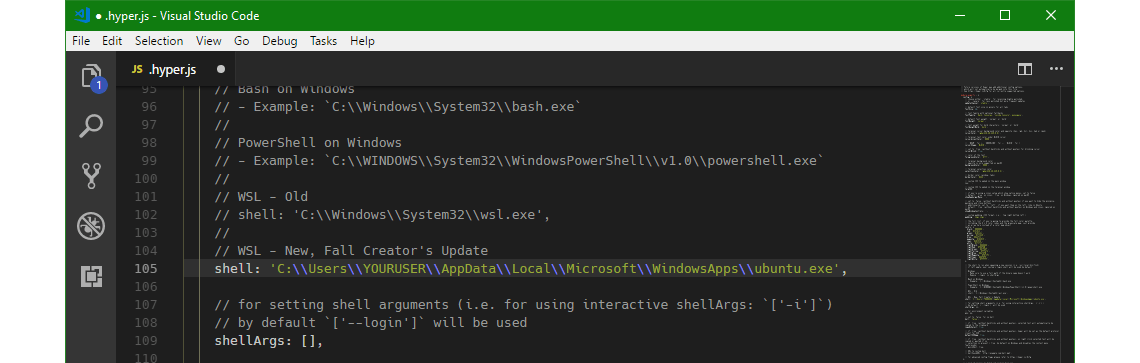
Let's configure Hyper to always launch into an Ubunu shell. Click the hamburger menu > Edit > Preferences (or hit Ctrl+,).
Add this line into the config. Replace YOURUSER with your current Windows user name.
shell: 'C:\\Users\\YOURUSER\\AppData\\Local\\Microsoft\\WindowsApps\\ubuntu.exe',
Close and reopen Hyper, and you should see UnixUsername@WindowsComputerName:~$.

3. Setup a LAMP stack
The following setup is my suggestion based on numerous unsuccessful attempts; everything from one extreme of symlinking my entire Linux home folder to my Windows home directory (do not do this, things get weird) to the opposite extreme of treating Windows and Linux as 2 completely separate worlds and never sharing files between them (do not do this, you lose many benefits).
I want Ubuntu to function exactly as it would on any other machine, and I want to be able to follow any Ubuntu-related guide on the internet without worrying about an atypical setup. And I also want the benefits of truly developing locally, like running code somefolder and having that folder open as a project in VS Code, and so forth. The whole point of WSL is that you are literally running a completely native command line Linux experience, but your base OS happens to be Windows.
Here's the thing: Microsoft says Linux can modify Windows files, but Windows cannot modify Linux files. So, my suggestion for accomplishing these goals is to keep everything for a native Ubuntu experience right where it gets installed (ssh keys, dotfiles, etc.), and then the only thing that lives in Windows is a working project folder that can be referenced from Ubuntu. That working folder will hold files for your projects, from PHP to Ruby to just about anything.
Install LAMP stack
There are several ways to do this, but this method is easiest for me to remember. It will install some things you probably won't use, but it will also install most everything you certainly will need for WordPress development.
sudo apt install -y lamp-server^
Hint, to copy and paste within Hyper, use Ctrl+Shift+C and Ctrl+Shift+V respectively.
When prompted, configure a MySQL root password.
Then, let's quickly test the installation. Spin up the Apache server...
sudo service apache2 start
Visit localhost in your browser, and you should see the Apache2 Ubuntu Default Page.
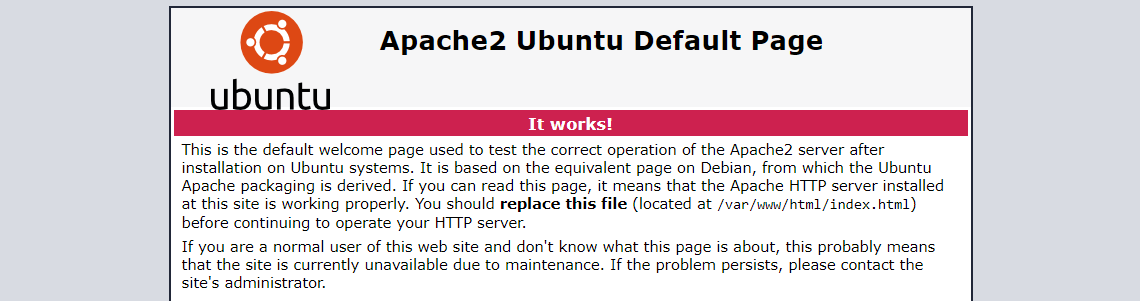
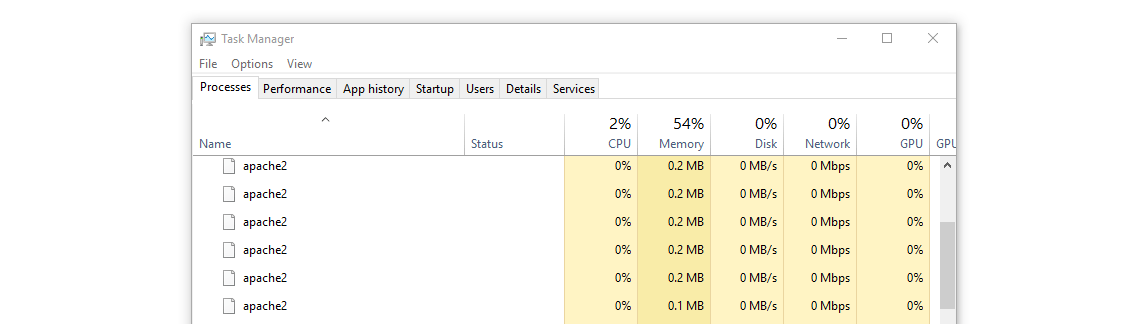
Let this sink in for a second. You just installed Apache, in a Linux way, on your Windows machine, and it's immediately available at localhost. You can even see apache2 processes in Task Manager, and I think that's just swell.
Configure Apache
We need to create a folder for our projects to live in, then tell Apache about that folder so it knows where to look for websites. This project folder will live in Windows.
Create a folder directly on your C:\ drive called Sites.
mkdir /mnt/c/Sites
This folder will be readily available to Windows text editors and so forth, while also being available to Linux via the path /mnt/c/Sites. You can place it somewhere else if you prefer, like into your Windows user home directory, but things may get funky if your username has a space or strange character in it.
Now let's tell Apache to serve files from our new folder. Open apache2.conf in your favorite editor.
sudo vim /etc/apache2/apache2.conf
Find the block <Directory /var/www> and paste this below it:
<Directory /mnt/c/Sites>
        Options Indexes FollowSymLinks
        AllowOverride All
        Require all granted
</Directory>
Then go to the very bottom of the same file and drop this there:
# Set server name
ServerName localhost

# Fix Windows issues. Discussed here - https://superuser.com/a/627251/873152
AcceptFilter http none
AcceptFilter https none
Save and quit apache2.conf.
Enable mod_rewrite, so our .htaccess files will work.
sudo a2enmod rewrite
Reload Apache to get the changes.
sudo service apache2 reload
Setup MySQL
Installing MySQL on WSL comes with a HOME directory warning. We just need to set one:
sudo usermod -d /var/lib/mysql/ mysql
Then spin up the MySQL service:
sudo service mysql start
4. Install helpful WordPress tools
Our server is ready to go, so let's grab a few WordPress-specific tools before we setup our first site.
- Install wp-cli, then make it global according to their instructions so it lives at
/usr/local/bin/wp
Optional
- Install composer then make it global
- Install node with nvm
5. Setup a vanilla WordPress site
This is the section that you'll have to repeat for every new WordPress site you want to setup. Google owns the .dev TLD now, so my sites use .local instead.
Install WordPress
Make a new project folder in our Sites directory and install WordPress in it.
mkdir /mnt/c/Sites/wordpress && cd /mnt/c/Sites/wordpress && wp core download
Create a wp-config.php file either manually or with the following command (replace your database user credentials as appropriate).
wp config create --dbname=wordpress_local --dbhost=localhost --dbuser=root --dbpass=yourpassword
Create a database.
wp db create
Windows hosts file
We have to update the Windows hosts file so that we can type a URL into our browser and it knows to check our own computer for the server running that website.
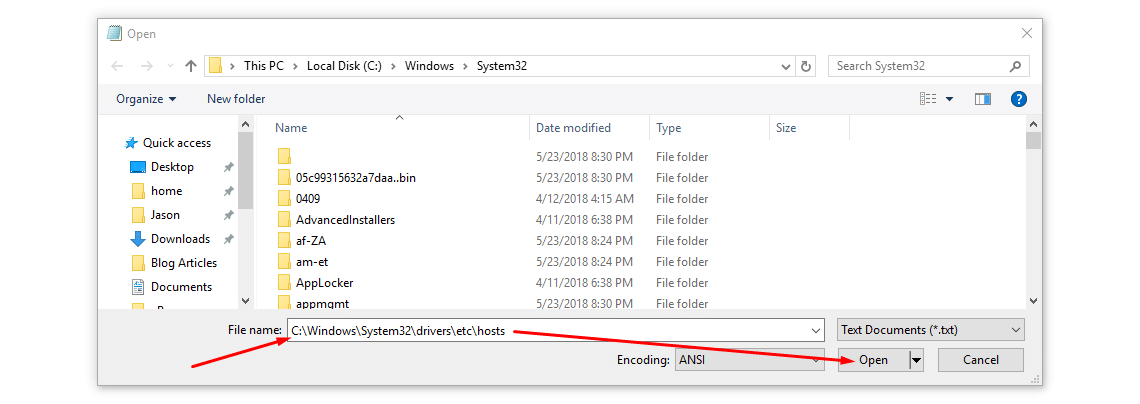
Hit the Windows key, type notepad. Right-click on the Notepad program, then click Run as administrator.
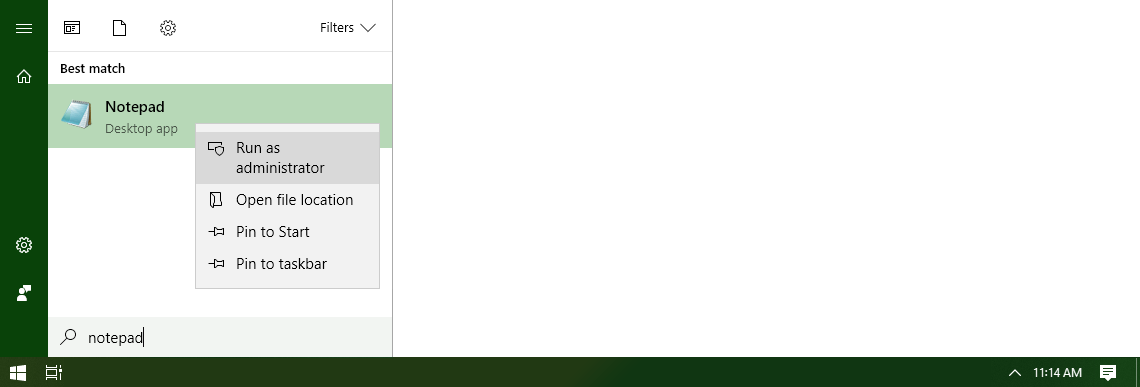
Choose File > Open, then enter the following path into the Open dialog:
C:\Windows\System32\drivers\etc\hosts
Add the following line to the bottom of the file. Using 127.0.0.1 is important here; localhost will not work.
# Windows Subsytem for Linux
127.0.0.1 wordpress.local
Apache vhost
Back in your terminal, go to Apache's sites-available directory:
cd /etc/apache2/sites-available/
Duplicate and edit the default configuration file:
sudo cp 000-default.conf wordpress.local.conf && sudo vim wordpress.local.conf
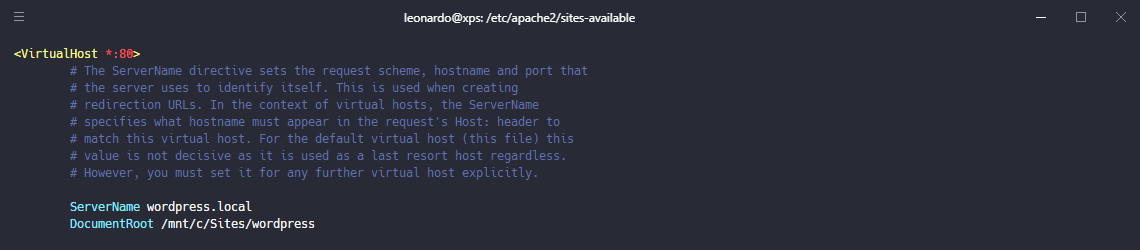
The only 2 fields we care about here are ServerName, which tells Apache what URL to listen for incoming requests from, and DocumentRoot, which tells Apache where to look for the website files when it gets a request on that server name.
Uncomment ServerName and edit both fields as necessary.:
ServerName wordpress.local
DocumentRoot /mnt/c/Sites/wordpress
Save and quit the file. Then, we need to tell Apache that we want it to load this configuration file by creating a symlink in the sites-enabled directory.
sudo ln -s /etc/apache2/sites-available/wordpress.local.conf /etc/apache2/sites-enabled/wordpress.local.conf
Reload Apache so the changes take effect.
sudo service apache2 reload
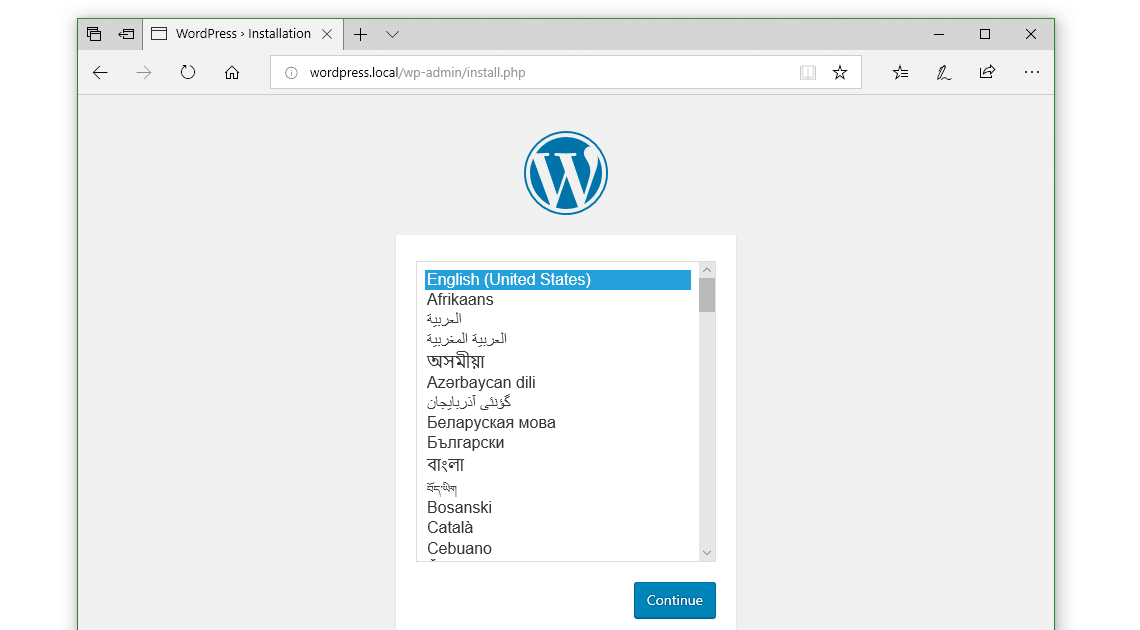
Now check out the site at http://wordpress.local in your browser, and you should be rewarded with the WordPress install screen.
6. Extra goodness
Configure terminal in Visual Studio Code
Add the following to your vscode user settings, then hit Ctrl+` to launch a terminal session.
"terminal.integrated.shell.windows": "C:\\Users\\YOURUSERNAME\\AppData\\Local\\Microsoft\\WindowsApps\\ubuntu.exe",
Install phpmyadmin
I can't do any better than this article by Digital Ocean.